Saturday, August 2, 2014

The "What If?" Doll Gets a New Hairdo - Part 3

Wow! I thought the glue would never dry inside Abbey Bominable's head! I may research other glues which are safe to use with vinyl. Anyhoo, I re-rolled her hair because the straw curlers and bobby pins were slipping out. I used chenille straws.

Next, I heated water to a simmer and dipped her head into the water to the count of ten. I repeated this process twice. I stood her up in a large jar and waited for her hair to dry. The following day, I carefully unrolled her hair and finger styled her new curls. As you can see, I also worked on her face-up.


Cool beans! I love her new 'do! I love how the extra hair I rooted added so much fullness to her curls. Here's another picture with her almost completed face up. I still need to gloss her lips and eyes for a pretty shine.


So, what do you think of Abbey so far? After I finish her lips and eyes, I'll let her dry. Next, I'll create an outfit for her and some jewelry, too.

Do you like the addition of extra locks? What do you think of her new face up? I'd love to hear your thoughts! Be back soon!

Dolly hugs,

Trenda Marie

Monday, July 28, 2014

The "What If?" Doll Gets a New Hairdo - Part 2

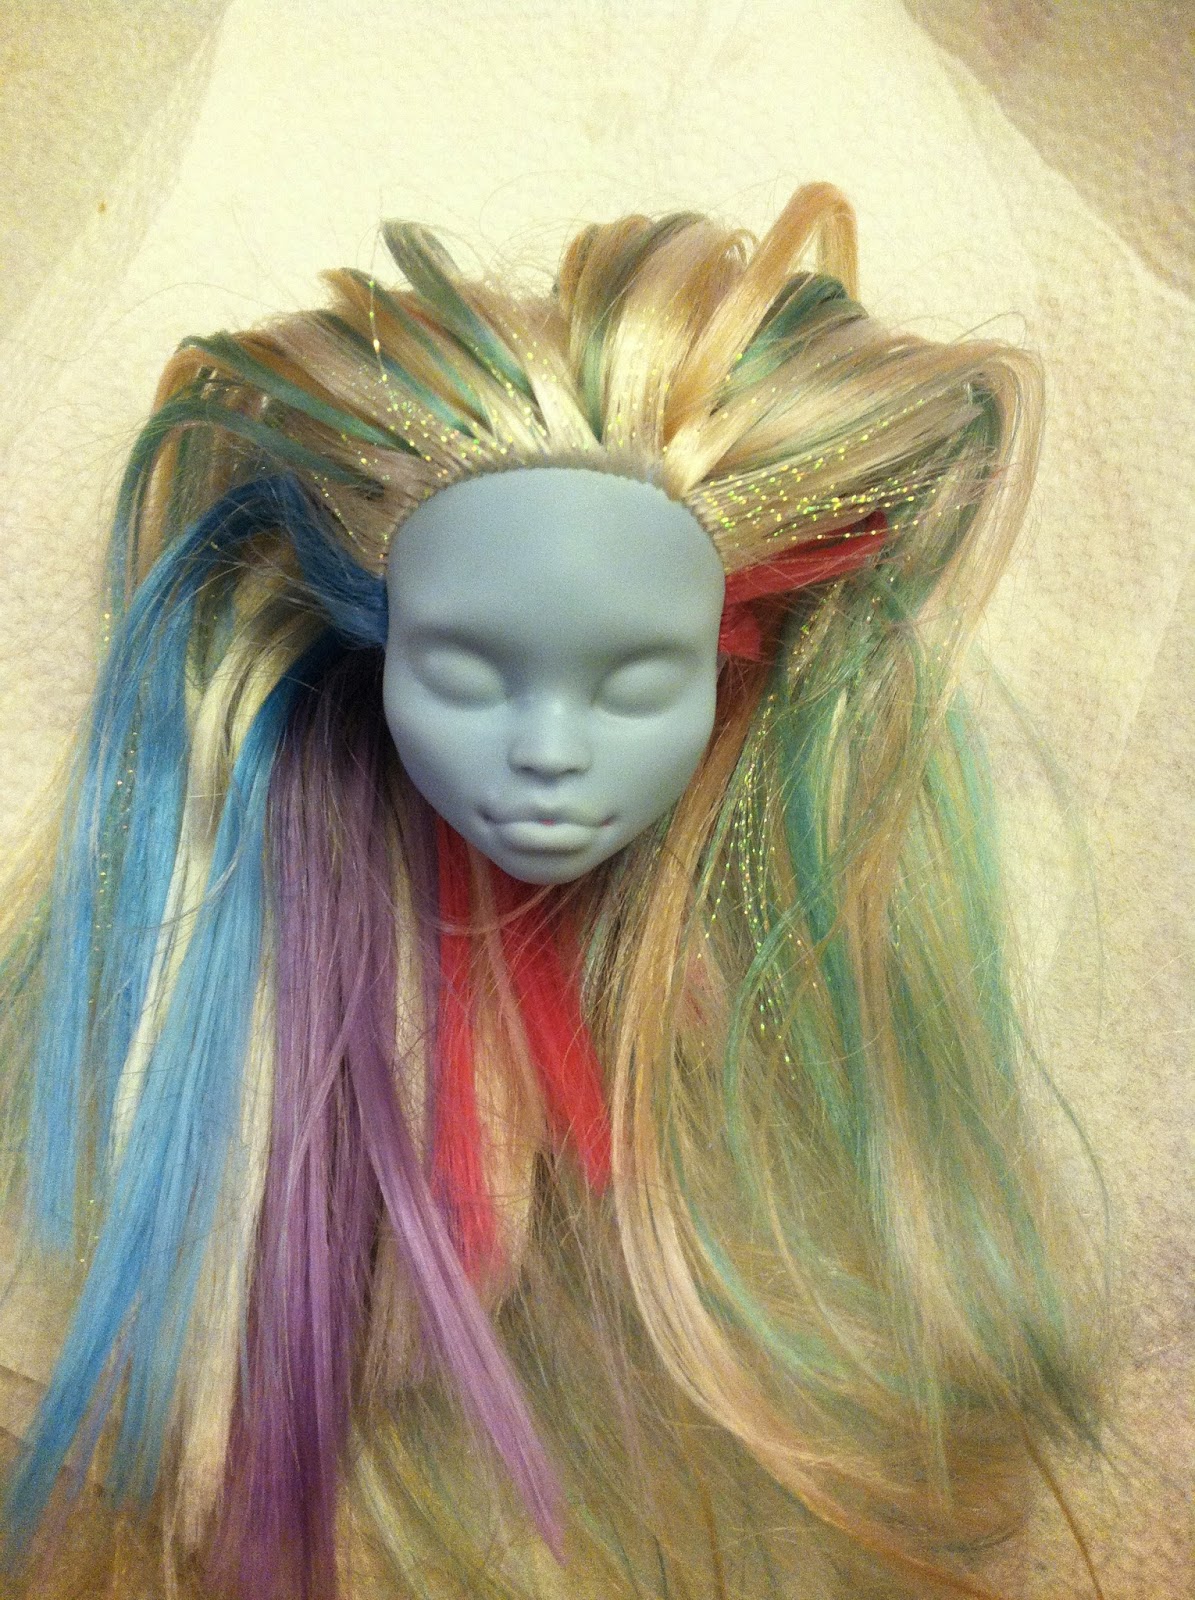
Hi! I'm checking in with another "What If?" doll update. Last time, I shared my adventure in rooting extra hair for my Abbey Bominable doll. Well, I finally finished the rooting and placed glue (Aleene's OK to Wash It) inside her head and left it to dry.

Tonight, confident the glue must've dried by now, I trimmed her hair, wet it, and rolled it with straws and mini bobby pins. I was all set to reattach her body before dipping her head in almost boiling water. But when I squeezed her head a bit, glue oozed to the surface of her neck hole. *sigh* I must've used too much glue.

Anyhoo, I'll let it dry some more then do the boiled perm. After that, I'll begin her face up. In the meantime, here are some progress pictures:

Abbey with her fully rooted hair.

Getting ready to add glue to secure the hair.

Time to remove factory paint.

I rinsed her face with water.

Supplies for her perm

All rolled up!


I hope you enjoyed the work in progress pictures. If you have any questions about my process, please feel free to ask in the comments below. I hope to be back soon with pictures of Abbey's new hairdo...if only that silly glue would dry!

Dolly hugs,

Trenda Marie

P.S. I'm having a SALE in my Etsy shop this week. All dolls are marked down from $40 to $30 for this week only. No coupon code needed.


Saturday, July 26, 2014

The "What If?" Doll Gets a New Hairdo - Part 1

Good morning! I'm popping in with a dolly update.

Yesterday, I began the process of adding extra hair to my Monster High Abbey Bominable doll. First, I tried rooting the new hair with my wooden bulb rooting tool, which was left over from my reborning days. Unfortunately, the fine gauge needle slipped and slid across the section of hair I was attempting to root. Thinking maybe I was just out of practice, I kept trying. Still, the tool wouldn't work.

Clearly it was time to ask for advice. I recalled how the fabulous John Maglio of Rainy Day Repaints had added colored strands to a Satin Sheen Prudence doll (Wilde Imagination). So, I messaged John and asked which tool he used for rooting. He directed me to a metal tool on DollyHair.com. I ordered one, but it hasn't shipped yet. Impatient to make some progress on my "What If?" doll, I searched online and found tips on using a regular needle with the end of the eye snipped off. I put the needle in my bulb rooting tool and have been happily rooting ever since.

I have a very long way to go before her hair is finished, but once it's fully rooted, I will trim and style it before stripping off her factory face paint. After that, the super fun part comes: giving her a new face. Thanks to my friend, Abby Markov, I already have an idea of how I want her to look.

In the picture below, you can see a portion of the hank of hair I'm using, along with my makeshift rooting tool. As you can see, her hair is already beginning to look fuller.


Today, I will continue working on adding more hair. I'll be back in a day or two to share her trim and restyle.

What do you think of the colored hair I chose? Have you ever rooted a doll's hair? 

See you soon!

Dolly hugs,

Trenda Marie

Thursday, July 24, 2014

The "What If?" Doll

I'm baaaack! *grins*

I abandoned this little blog a couple of years ago when I also gave up reborning baby dolls. I'd found that while I enjoyed the intensive, laborious work of creating a reborn, I could not find my place in the reborning market.In other words, I was spending more money on my art than I was making.

So why resurrect this blog now?

I have found my way into the world of OOAK (one of a kind) doll repainting, and boy, do I love it here! I begin with a store-bought doll, remove her factory paint, and give her a completely new look or face-up using soft pastels and professional acrylics. I seal the deal with Mr. Super Clear.

So far, I have painted Ellowyne Wilde, Monster High, and Ever After High dolls. Of the three, I enjoy repainting the MH dolls the most. I love their unique personalities, and I have a lot of fun giving them a whole new look.You can have a peek at my currently available dolls in my Etsy shop. Thanks so much for peeking!

The dolls I've painted so far vary from quirky and strange to cute and fun to just plain adorable (i.e. Lagoonafire). I spend about ten to twelve hours on each doll. I squeeze in dolly repaint time between being a mom to two fabulous kids, completing grad school assignments, and generally running a household on my own. Painting fills a space in my life, allowing me to express myself creatively and at the same time, offer something cool and fun for others to view and enjoy (and maybe even purchase).

Today, I posted a picture of my latest repaint, Lagoonafire, on Facebook, and it caught my friend Abby's eye. She declared it adorable but then she posed a challenge. What if I pushed myself further still? What if I devoted a huge amount of time on one doll? This got me to thinking? What if I went deeper with the details and layering? What if I added more hair to give the doll's hairstyle a fuller, more life-like look? What if I sewed her an original outfit? What if I made jewelry for her?

The dolls I currently sell in my shop are reasonably priced to be readily available to someone who likes them. Each doll is $40 plus shipping. At the moment, I'm offering $5 off each order. All you have to do is use coupon code INSTAGRAM714.

The "what if" doll would, of course, be more expensive due to the extensive work involved in creating her, but I believe there is a market for my work. I simply have to find my audience. Oh, and I have to keep doing the work itself, pushing myself farther with each new doll I create.

Here's the thing. I'm going to give this "what if" doll a try. And, I've decided to share the journey with you. I'll be taking work-in-progress pictures along the way and blogging, perhaps once or twice a week, about my process.

The "what if" doll is *drum roll* Abbey Bominable! (In honor of my friend, Abby!)

Because I already took her hair down, I'll share a stock image I found online, so you have an idea of what she looks like before her makeover.


So, what do you think of my new venture? Are you a doll fan? Which doll brand/line is your favorite and why? Have you ever tried repainting a doll? What are your favorite techniques?

Coming up next: "What If" Doll Gets a New Hairdo

Dolly hugs,

Trenda Marie